I’ve shared our living room on here many times and I really love the space, but what people often ask me is: “but where’s the TV?” Well, there’s a reason I never showed the room from that particular angle because it was never ever quite right and I hate messy cables on show and the often cluttered look of an entertainment unit. That’s all changed now with this amazing built-in, which we did on relative budget.

Is it a TV unit? Is it a credenza? Is it built-in joinery? Who knows, or cares? It just looks and functions great! And this room is finally good from all angles. Not to mention, that navy!

That gorgeous navy cabinetry? It’s flatpack Kaboodle from Bunnings, like we used in the laundry recently, and the doors are one of the regular colour options (Bluepea) rather than being painted by us.

I feel what really takes it next level is the Caesarstone top. It’s White Attica, which I’ve always loved (since I saw it in one of The Block houses years ago) but wasn’t quite right for out kitchen (which is Noble Grey). I felt it was the perfect contrast for the navy in the living room and I really didn’t want to matchy-match with the kitchen because really, who matches their separate living room to their kitchen?! At the same time, there’s an element of continuity and flow there, thanks to the paint colour and the navy cabinetry being the same as the laundry. Not to mention we now have shaker profile doors in the living room, kitchen and laundry.

One of the things I struggle with most with TVs in general, and all the stuff that comes with them (speakers, cables, Foxtel box etc) is the generally messy or cluttered look. I knew that I needed to go one further to really pull together this cabinetry and this was with the use of VJ Board Pro board from Intrim on the wall behind. It’s painted in the same blue as the other VJ in our kitchen and dining (Chinchilla Fur by Haymes Paint).

So, how did we do it? First, we needed to chat with our electrician about getting all the cables in the wall and marking that out before Trent from Pure Renovation Group fixed the VJ Board Pro onto the wall. It’s a great affordable MDF product which is easy to install and comes pre-primed in sheets and ready to paint. I’d been on the Kaboodle 3D planner online to work out which combination of cabinets would fit the 3-metre wall as neatly as possible to create that custom look. Luckily for me, this worked out so so well using two different cabinet sizes! We did think about using less deep wall cabinets instead but as we had plenty of space here, we decided to use the deeper cabinets and create maximum storage.

To avoid them looking too ‘kitcheny’ we decided not to use a kick board, to make them lower, and we chose push to open hinges and no handles or knobs. Like planning the laundry, this process was very intuitive and easy, even for an amateur!
I really love the look and the contrast of the navy in this room. The stone finishes it off beautifully and stops it from being too dark. The paneling behind just pulls it all together. And overall, we have a very custom look for a lot less than custom joinery (which absolutely has its place but this isn’t the house or the room I want to invest in that for).

My husband was delighted that this set-up meant I agreed to us buying shiny new speakers for his hi-fi setup (he’s old school like that) on the basis that they were white, even if they are a bit bigger than I was led to expect but that’s another story… I drew the line at a new TV because there’s really nothing wrong with this one (and care factor: zero!).
Almost every ugly black box (Foxtel, amplifier, CD players and the like) is in the far left cabinet so there’s actually heaps of storage too, for things like CDs (I told you my husband was old school) and other completely non-TV and audio-related things that need a home. I mean, can you ever have too much storage? I think not!

I’m so thrilled with the end result and the only thing that could make it better would be a Samsung The Frame TV! The only downside? We can’t take this setup with us if we ever move!
I thoroughly recommend considering using flatpack to achieve a built-in look like this, or even to create your dream buffet, for example. I hope this how-to gives you some inspiration!
Photos: Jacqui Turk

My new navy and gold laundry revealed: before and after
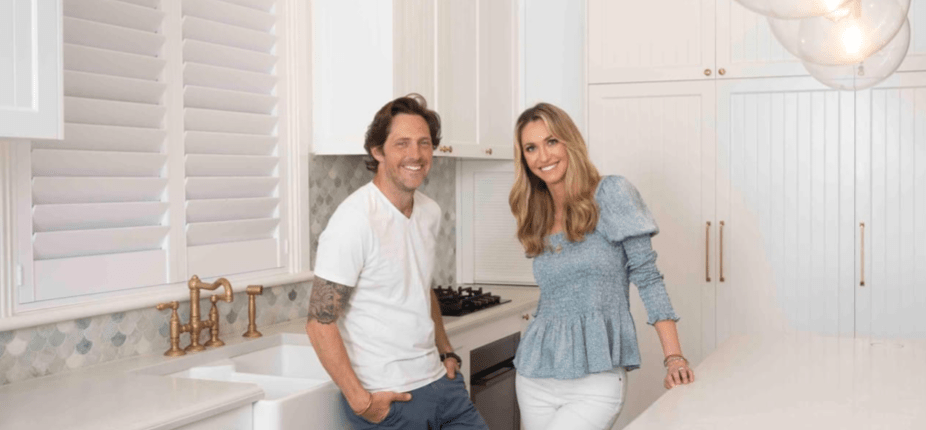
Charlie Albone and Juliet Love share a first look at their new home