Categories
Expert Tips Interiors Addict

Mums Who Clean reveal their best spring cleaning tips

Rachael Hallett and Karlie Suttie, creators of the wildly popular Mums who Clean Facebook Group with almost 350,000 members, share their top tips for getting on top of the spring cleaning. With summer seemingly nowhere in sight, we figure we’ve got a little longer this year!

Rachael and Karlie of Mums Who Clean
  1. Make a plan 

Spring cleaning can be challenging whether your place is big or small. But, like all big undertakings, making a plan is a good idea. Start by listing out every room of your house, thinking about things you probably don’t clean regularly. This may include baseboards, walls, behind and underneath furniture (and the furniture itself). A handy tip is to work from the top down, starting with ceilings, walls and cabinetry first and floors last. This helps ensure that any dust or debris that falls to the floor is cleaned up at the end, as opposed to cleaning the floors first. 
 

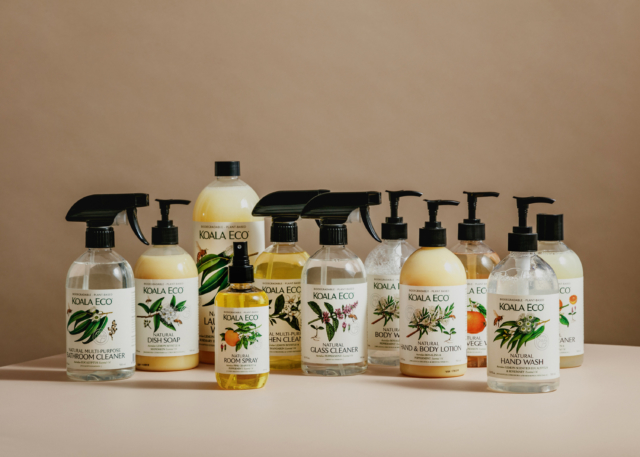
  1. Overhaul your cleaning supplies 

Before getting stuck into the dirty work, ensure you have all the cleaning supplies you will need for the work ahead. It’s also a good time to replace those old rags, brushes or sponges you’ve been using the last few months that may have hidden bacteria of their own. Many cleaning products also have a shelf life, so any products that are old and out of date, such as multi-purpose cleaners, should be thrown away. This is also a good time to check the filter on your vacuum. A dirty filter can significantly affect your vacuum’s suction power, resulting in a less effective clean. Ideally, you should be cleaning your vacuum filter every three months to get rid of the dirt particles, crumbs and dust hiding inside or on newer vacuums, like the LG CordZero Handheld Vacuum with All-In-One Tower, the LG ThinQ mobile app sends notifications to your phone when you need to change the filter. 

  1. Declutter first 

To boost your motivation, start by decluttering your space. Consider donating and selling anything you don’t need so that you are starting your spring clean with a fresh, spacious area. This will help you achieve a deep, thorough clean of the home as opposed to a superficial clean around the cluttered objects.  If you aim to reduce the clutter on flat surfaces like tabletops and shelving, it will also become much easier to keep clean in the long term by reducing the places dust and debris can hide. 

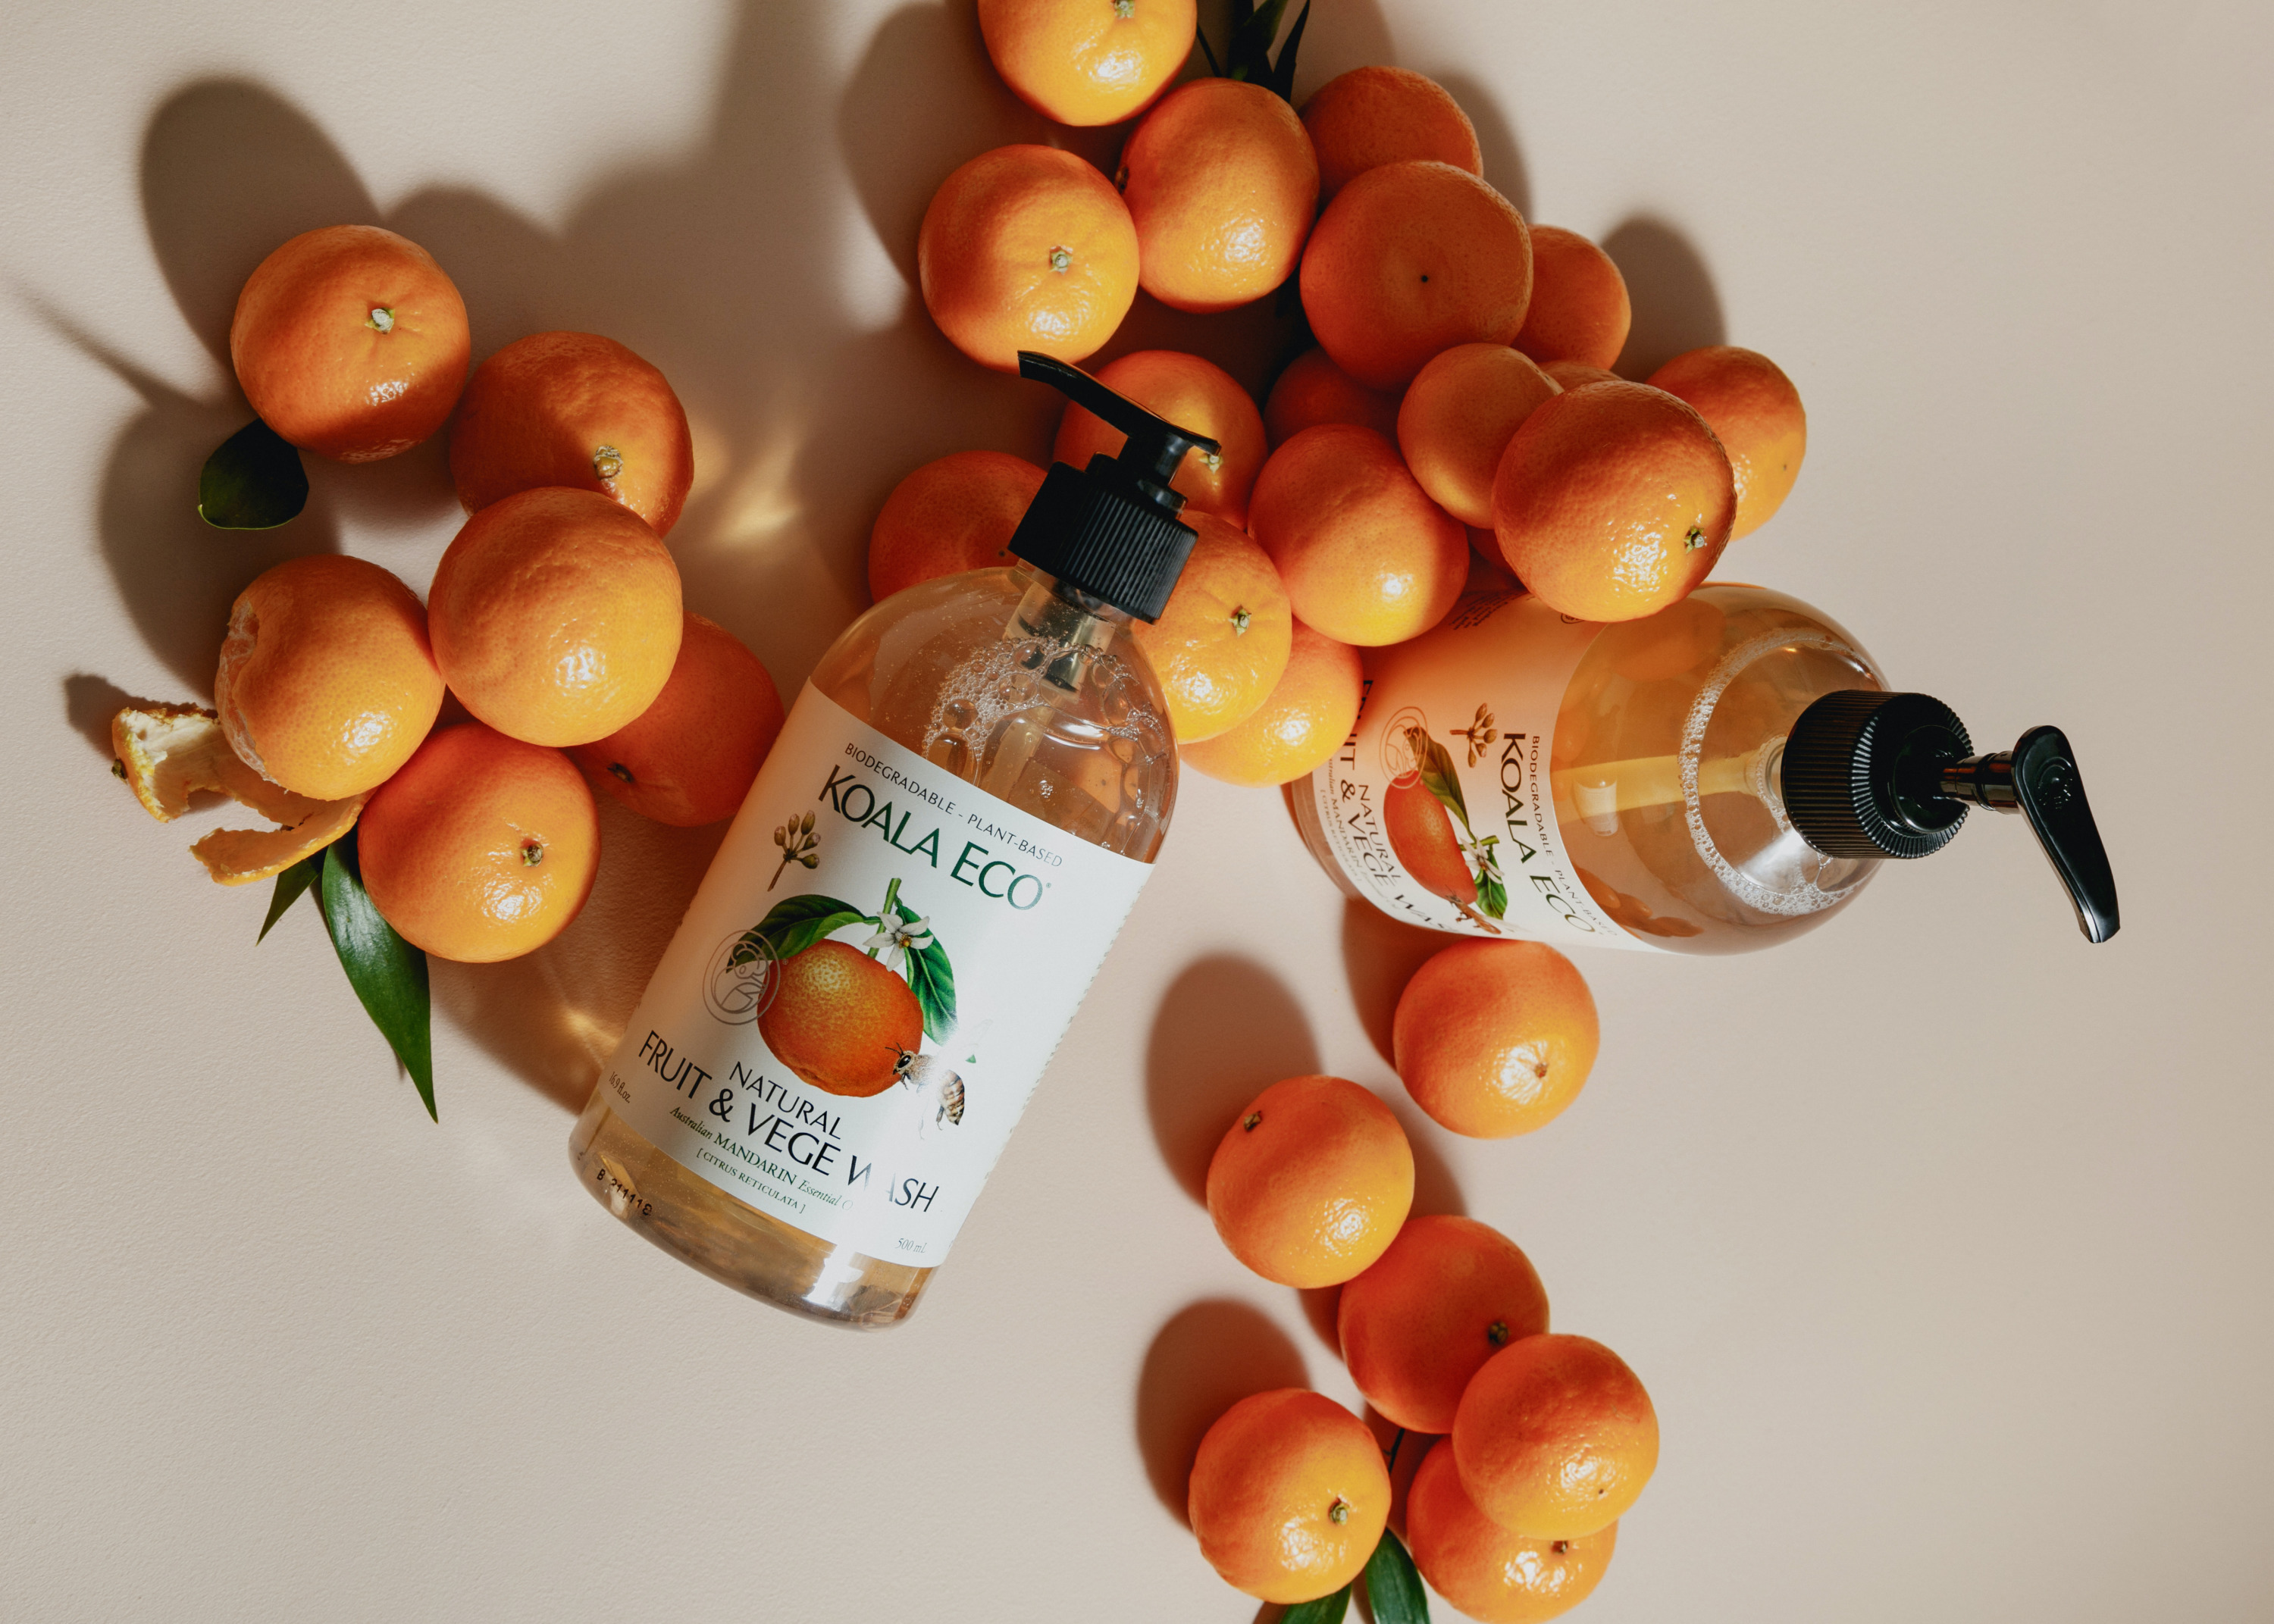
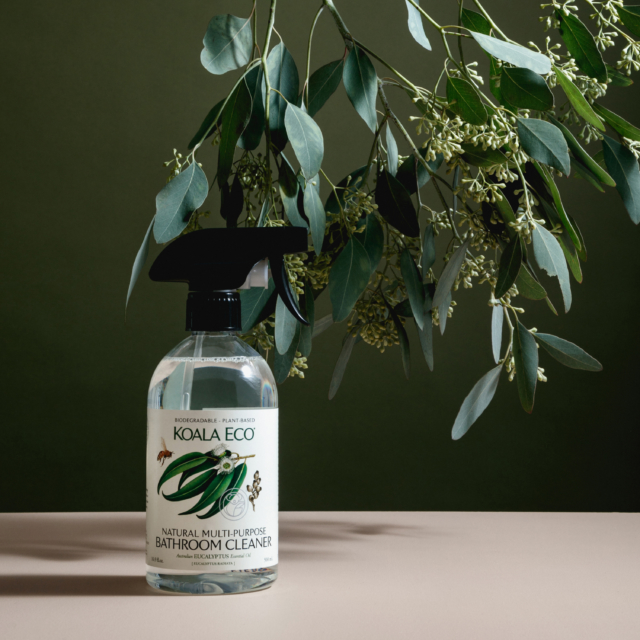
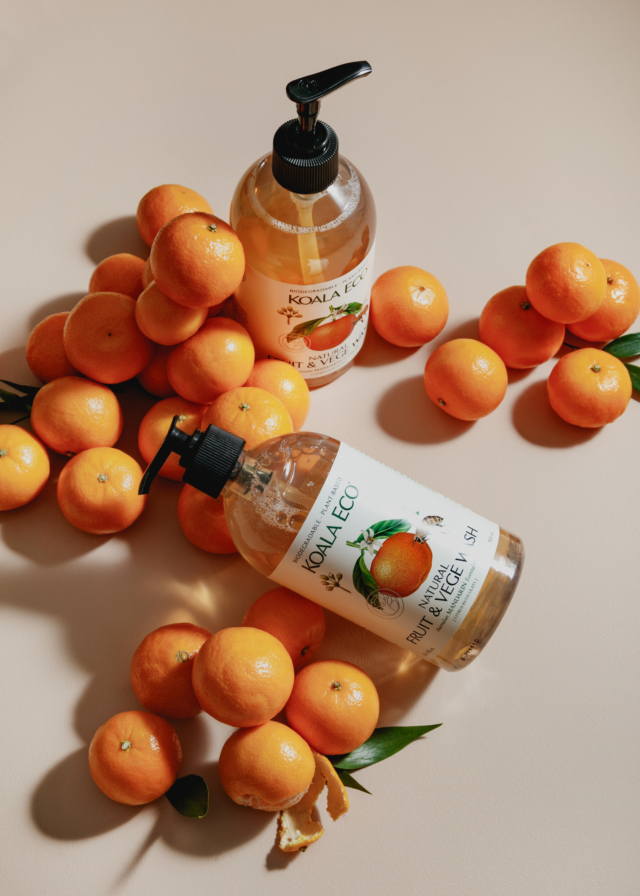
  1. Set a new tone, with some fresh scents 

There’s nothing better than the smell of citrus to power you through your spring cleaning. Distract yourself from the pungent odour of cleaning supplies by lighting a candle. You could even add a scent to your vacuum cleaner or mop water, so you leave a nice smell throughout the home. Some of our top scent suggestions are eucalyptus, lavender and lemongrass. 
 

  1. Clean your cleaning appliances 

Dishwashers and washing machines are appliances we use daily to clean up messes. However, we sometimes forget that these appliances can also collect dirt, bacteria and even mould, especially if we aren’t careful to maintain them. The process can be as simple as using common household products such as vinegar and bi-carb soda and running through each machine on a normal cycle. Fortunately, newer washer machines and dishwashers these days come with self-cleaning functions that make cleaning your appliances a whole lot easier.

  1. Expired? retired!  

Give your fridge a makeover by throwing away expired, leftover foods and stocking up with fresh springtime fruits and vegetables. It’s important to seasonally clean out your fridge to prevent the growth of any harmful bacteria or mould. It’ll also make cooking much easier, with less clutter and time spent looking for that missing ingredient.  


  1. Don’t forget about the air in your home 

Cleaning or replacing the filter on your air conditioner is one of the most important yet overlooked household chores. Air conditioner’s ducts can build up dirt and dust in winter, making it harder to dispel fresh air and worsening energy efficiency. Smart air conditioners come with a feature that allows you to monitor the status of your filter and advises when it needs changing. 

  1. Use a vacuum with HEPA technology to reduce allergens 

Reduce springtime allergens from your home by using a vacuum with HEPA technology. HEPA technology captures dust and tiny airborne particles like pet dander and allergens, providing a much more effective clean. We suggest using this feature in combination with different accessories and cleaning tools so you can target other areas beyond carpets. For example, the LG CordZero All-in-One Tower includes a Bedding Power Punch Nozzle that can vacuum dust and allergens off soft furnishings such as curtains, pillows, lamp shades, mattresses and couches. 

  1. De-gunk your oven 

Cleaning your oven is an essential part of spring cleaning. Nobody wants an oven filled with grease, grime and food debris. Not only can it compromise the flavouring of your baked goods, but it can be a fire hazard. As a first step, use your appliance’s self-cleaning function to remove stubborn, baked-on grime. If your oven doesn’t have this feature, you can clean your oven’s interior using a damp microfibre cloth or sponge, along with some bicarb soda and vinegar.  

For those stubborn oven racks, our hack is to wrap each rack up with foil and pop a dishwasher table inside. Next, soak all your oven racks in the bath with hot water for at least 2 hours or overnight for the best result, making sure to first line the bottom of the tub with a towel for protection. Once finished, run a soapy steel wool or scourer over the rack to wipe off all the grime. 

  1. Tackle the grout 

Cleaning grout between the tile flooring is an often-overlooked chore in our annual spring clean, as it’s a lot more labour-intensive than mopping. However, cleaning grout doesn’t have to be as labour-intensive as you think if you use the right products and techniques! We suggest pouring Long Life Grout Cleaner from Bunnings and lightly scrubbing with a hard bristle hand brush. After wiping the residue with a damp cloth, the grouting looked good as new, without a trace of dirt left between the tiles—this an easy hack to achieve a lighter and brighter bathroom look.

For more on LG home appliances | Mums Who Clean Facebook Group

Categories
Appliances Expert Tips Interiors Addict

Refresh your home with these 7 easy spring cleaning tips

Nothing clears the mind like a deep spring clean after a (very!) wet and cold winter. Spring is the perfect time to find cleaning inspiration to freshen up your home, but rather than repeating your usual cleaning process, this spring brings a chance to treat your house to a professional grade clean.

These seven tips provided by Appliances Online’s category expert Colin Jones will help make this year’s spring clean a breeze.

Tip 1: microwave

Your microwave may develop a bad food smell from overuse throughout the year. Place one cup of water and two tablespoons of white vinegar with some freshly squeezed lemon juice in a bowl and microwave for five minutes.

Tip 2: washing machine

Over time, musty smells may begin to develop in your washing machine, which can go through to your clothing. Add one cup of apple cider vinegar into the dispenser of your machine and run it empty on a full cycle.

Tip 3: oven

This is a step-by-step guide for a cleaner oven:

  1. Mix ½ cup baking soda with water until it is a spreadable paste-like consistency
  2. Using a brush, smear the entire inside of your oven and oven door, and leave it overnight (trick: you can also use this to clean your oven racks and trays)
  3. In a spray bottle, mix a combination of vinegar and water and spray the inside of the oven, using a damp cloth to remove the residue. Some harder to remove bits may require a scraper to remove entirely.

Tip 4: cooktops

  1. Mix ½ cup baking soda with lemon until it is a spreadable paste-like consistency
  2. Apply it to the cooktop in a circular motion
  3. Wipe down the cooktop with a damp cloth and use a good paper towel to dry  

Tip 5: rangehood filters

Rangehood filters are a key part to your rangehood and these should be kept clean;

  1. Remove the filters and place them in the sink with a combination of hot water, detergent and ¼ cup of baking soda. Leave them to soak for 15-to-20 minutes, if they are extremely dirty you may need to scrub them with a dish brush or scourer
  2. Once done, place the filters into your dishwasher on the hottest temperature (this will flush out built-up grease in between the filters)
  3. Once the cycle has finished, take the filters out and leave to dry completely before placing back into your rangehood

Tip 6: dishwasher

  1. Place a cup of white vinegar in the top  rack of your dishwasher, or pour directly into the dishwasher drain and run a short cycle. This will loosen trapped food particles causing the odours, giving you a fresher smell-free dishwasher
  2. Remove filters and soak them in warm water for 10 minutes. Give them a good rinse under hot running water and place back in your dishwasher. Throw ½ cup of baking soda down the drain hole as well to freshen it up
  3. Remove the spray arms and check there are no food particles blocking the spray jets. You can use a wire to clean out the holes of any hard deposits that can prevent them from working properly.

Tip 7: vacuum cleaner

To ensure your vacuum continues to run smoothly, the filters should be cleaned at least once every three months. 

  1. Open up your vacuum, remove the filter and tap it against a hard surface to shake off loose dust. Using a dry brush, gently remove the remaining dust. Ensure this is done outdoors so the dust doesn’t end up back inside! 
  2. Any fine dust remaining can be rinsed under a cold tap, hold the filter under the running water until it runs clear (be sure to check for electrical components or attachments before rinsing in water)
  3. Leave to dry in direct sunlight, and ensure the filter is completely dry before placing it back in the vacuum.
  4. At the same time, give your vacuum’s dust container a good rinse of any residual dust and grime, remembering to let it dry completely before reassembling.

Find the latest cleaning appliances at Appliances Online

Categories
Expert Tips Styling

Decluttering tips from professional organisers

The experts at Tidee share their top tips to make decluttering your home much less daunting!

Tip 1: Start small 

You have to start somewhere right? Think about the areas in your home that need attention, choose one space and tackle this first. In our experience, if you try and take on all the spaces at once you will likely become overwhelmed and demotivated. Start small to win quick! 

Tip 2: Have a vision 

Before you get started it is important to have a vision. Imagine how you want the space to look and function. Start building your bank of ideas, social media is a great place to start – lots of inspiration! 

Tip 3: It’s all in the planning 

Planning is key to your organising success. Before you go crazy buying lots of different organising products, measure the space first – this step is really important! There is nothing worse than buying a whole lot of organising products only to find they don’t fit or work in the space. 

Tip 4: Product is key 

Try to balance functionality and beauty. These are fundamental components to any space we organise. There’s no point using products that don’t work well for the space. The organising products have a dual purpose – they have to work well and they have to look beautiful. 

Tip 5: Lock in the time 

Organising requires commitment and part of that commitment is your time. Make sure you set aside at least 3-4 hours straight. There is nothing worse than not finishing the job and having to live with a messy space. Be prepared for things to get messy before they get organised! 

Tip 6: Give me some space 

Clear a space in the room you are organising so that you have plenty of space to put all the items eg clothes out of the wardrobe or food out of the pantry. To make the sorting process even easier, get 3 empty bins (bags, boxes or baskets) and label these: KEEP, DISCARD & DONATE and sort items into one of these 3 categories.

Tip 7: Moving on out 

Get everything out of the space – yes we mean everything! Once everything is out give the space a good wipe down. A clean space is the foundation of any organised space. 

Tip 8: So long, farewell 

Time for the sorting to begin. Group your items together into the same categories. Once this is done it’s time to get your Marie Kondo on. Do you love the item so much you have to hang onto it or are you better off saying so long farewell to it? Be ruthless otherwise you will simply end up storing things for the sack of it! 

Tip 9: Put it back baby 

Time to put back all the items you are keeping in their newly assigned homes. A basic rule of thumb is to keep the items you use regularly in prime real estate zones eg vegemite in an easy to reach spot and items you don’t use daily up high. 

Tip 10: Label label label 

The final step is to make sure your storage containers are labelled. This will act as a visual reminder to put things back in their new home and lets others know where things go. Labelling is key to the organising system being maintained.

Tidee are Melbourne professional organisation technicians Emma and Michelle with a passion for bringing calm to your space.

Categories
DIY

Add value to your home with these four simple tips

By Tabitha Robb

The Australian housing market is currently seeing huge growth, but you don’t need to rely solely on movement in the market to generate capital growth in your property.  

You can manufacture growth, or add value to your home, by making just a few simple changes. I’ve put together our top tips to drive the price of your property up without breaking the bank – it’s a win-win!  

High-pressure hose down  

Borrow, rent or buy a high-pressure hose and wash down your façade. Particularly if you’re planning to paint, you’re going to need to prep the surface first. External paved or deck areas also really benefit from a pressure wash. Steam cleaning grime away from exteriors is another very effective technique, especially if you have a large concrete area that could use some TLC. 

Geek up your home 

Adding a security feature and other tech gadgets is a great way to add value to your home. There are some great gadgets around which can keep an eye on your home whilst you’re not there. Devices like Ring’s video doorbell 3 Plus, or a wired version such as Ring’s video doorbell wired, can be placed near your front door so you can accept packages from your couch, add security and drive the value of your front doorstep. This will be appealing to buyers looking for a secure property without wanting to install an expensive system. 

Paint your exterior  

A good freshen up is key to adding value to your property, so paint your front fence and façade. Preparation is key to a flawless finish, therefore ensuring your surfaces are clean, dry and sanded is the best way to achieve perfection. Not only does a coat or two of paint change the look of our home and amp up the street appeal, it also protects the underlying materials from the elements and actually increases the lifespan of the building. Taubmans Endure/Sunproof, Dulux Weathershield and British Paints 4 Seasons are all good options for exteriors.  

Image: Dulux

Garden 

Tidy up your front, side, and rear gardens by clearing, weeding, mowing, and planting. Not only will this drive value, but we also think gardening is rather therapeutic and there is something satisfying about going out and picking herbs for dinner. Visual appeal when it comes to real estate is everything, and when you create an instant positive reaction with your front garden it can add huge value to your home. Planting options are almost limitless but when you’re unsure, stick to planting one or two varieties and you can’t go wrong.  

Image: shutterstock

Visit Ring’s website for more information on the video doorbells.

-Tabitha Robb is a licensed estate agent and director at Prop Culture.

Categories
Appliances Expert Tips

Keep your home fresh: how to clean your air conditioner

With arguably the hottest month upon us, there’s no better time to clean your air conditioner filter. This not only removes bacteria and mould buildup, but ensures that your air con is running efficiently. You can’t control air pollutants outside of the home, but cleaning your air conditioner’s filters will ensure that your family starts breathing some cleaner, fresher air.

Mitsubishi have released an easy how-to guide for cleaning your wall mounted split system. On top of cleaning your air conditioning filter once a season, Mitsubishi suggest that you get your air conditioner serviced annually by a licensed professional. 

Open your air conditioner

Gently, but firmly pull up the air inlet panel. Lightly hold the knobs on both sides and lift a little to remove the panel forward.

Tip: If the panels are jammed and a bit difficult to open and close, use gentle force so you don’t damage the unit.

Spot the air filters

Wall mounted reverse cycle systems are fitted with three different types of filters. Locate the light orange allergen filter, the orange deodorising filter, and the two mesh air filters, and gently remove them.

Wall mounted cool only systems are fitted with two different types of filters. Remove the two mesh air filters and the green enzyme filter.

Clean and dry

All you need is a sponge and some warm soapy water to clean out any trapped dirt and grime from your filters. Then simply place them somewhere safe in the sun to dry. Sun drying reactivates their cleaning properties. 

Tip: To avoid damaging the filters, do not clean them use boiling water or drying them over an open flame.

Done and dusted 

Re-installing filters for both reverse cycle or cool only models is stress-free and quick. Hold the filter firmly on both sides and insert securely. 

For more information

Categories
Interviews

Plant-based cleaning brand Koala Eco breaks into the US

“We were constantly on the hunt for safe, affordable, toxic-free cleaning products that would not only make our home smell naturally fabulous but would actually work. We felt our sons, and pets, shouldn’t have to hold their breath in order to avoid absorbing chemicals every time we cleaned the family home,” says Jess Bragdon who, with this in mind, co-founded the Australian cleaning product brand Koala Eco

Jess and Andrew
Koala Eco founders Jess Bragdon and Paul Davidson

Launched in 2017, with the help of her co-founder husband Paul Davidson, the brand now boasts over 800 stockists across multiple countries with a US expansion next on the list. Not bad for a little Aussie start-up!

Made in Australia, Jess worked with a Sydney lab and chemists to formulate and develop the product line-up which encompasses everything from kitchen and floor cleaner to hand sanitiser, vegetable wash, bamboo cleaning brushes and more. Importantly, the range has been independently lab-tested and proven to have the capacity to kill 99.99 per cent of germs, viruses and bacteria which is obviously very important in times like these.

Packaged in 100 percent post-consumer-recycled plastic bottles, the products are free of synthetic fragrance and colouring, allergens and irritants and draw on the medicinal and therapeutic properties of Australian native plants. “Species such as eucalyptus, lemon myrtle and peppermint have natural antiseptic and astringent qualities and have been harvested for millennia by Australia’s Indigenous people,” says Jess.

Essential oils are derived from the bark and leaves of native Australian trees and plants like Eucalyptus, Tea Tree, Lemon Scented Iron Bark, Lemon Myrtle, peppermint, lavender and rosemary. “We also use essential oil extracted from the peel of citrus species like grapefruit and mandarin.”

A personal favourite of mine, this product smells amazing!

“For example, Eucalyptus Australiana (which we use in our Stainless Steel + Chrome Cleaner) is a great antiseptic, while Mentha Piperata (Peppermint) is a natural insect repellent which is why we put it in our Glass + Window Cleaner, as well as several other products in our range. To these essential oils we add ingredients like vinegar, sugar-based biodegradable alcohol and bicarbonate soda, plant-derived solubilisers and surfactants, and purified water,” says Jess.

And aside from smelling fabulous, the products look rather gorgeous too which is no doubt due to Jess’ background. She once ran a floral design business with her twin sister Adrienne (in her native US), before meeting her Australian husband in New York City and making the move down under.

“Initially I lived in Perth where I worked at the cultural organisation FORM. I had the privilege of working with many designers, and also collecting some of their work,” says Jess who put her design eye to good use when creating the brand’s beautiful labels.

But in the biggest coup for the brand to date, it’s expanding into the US this year with a Californian office currently in set-up phase. “It’s been an ambition of ours from the beginning and the US business will run on the same principles as the Australian operation, with mail order and in stores too.” Jess will continue to develop new products from the couple’s Sydney base.

“The pandemic this year has made all of us realise good hygiene means so much more than cleanliness; it’s a way of helping to prevent spread of germs. When we clean and care for our homes with products made from natural ingredients, it’s a form of self-care that impacts not only on our physical, but also mental health.”

Jess’ best DIY home cleaning tips

  • Olive or coconut oil and lemon on an old cloth for polishing wooden furniture is a great natural option, and easily accessible from the pantry.
  • A few drops of essential oil in the bathroom sink, tub or toilet gives it a fresh aroma – try mandarin or eucalyptus.
  • Add old citrus peels to vinegar, baking soda and water for a natural cleaner for bench tops that is safe for your family.

For more on Koala Eco

Categories
Appliances Bathrooms Expert Tips RENO ADDICT

Bathroom cleaning checklist for a healthy space

While COVID-induced lockdown is slowly easing across the country, the time we’ve all been spending at home has given rise to a greater focus on keeping our living spaces healthy and hygienic. 

As the one room in your home that provides moments of escape, rejuvenation and relaxation, the bathroom is a space we want to keep as clean as possible. These five tips will help you prevent the build-up of dirt and mould in your bathroom, so it can continue to deliver blissful experiences throughout our extra time at home and beyond.  

1. Watch out for tight spots

Hidden spaces to watch out for include:

  • Corners and tight spots where water and moisture can build up. Water and moisture attract dirt and promote mould. Avoid mess from the get-go by keeping these spaces dry.
  • Your shower floor and walls. Invest in a shower squeegee and remember to use it! When it comes to mould build up, it’s best to be proactive rather than reactive.
  • Around your taps. Dental floss is a handy tool for removing grime from those hard-to-reach places. Simply floss in the crevices, such as in between the tap and basin to remove build up.

2. Use mild disinfectants

Keep your taps, tiles and bathtub clean by using mild, ammonia-free detergents. Not only are they less damaging than harsh cleaning products such as bleach, but they are better for the environment and for the people using the space too. 

3. Don’t forget about the drains

Our top drain care tip is about prevention, rather than correction. To avoid having to deal with a clogged drain, we recommend a simple, regular routine: 

  • Pour some boiling hot water down the drain, followed by a cup of baking soda.
  • Add a cup of white vinegar and another cup of hot water, then leave for 10-to-15 minutes.
  • Flush out with water from the tap or outlet.

This useful trick uses plumbing-friendly products to prevent build-up from soap residue and hair, keeping your drains sparkling clean and removing unwanted scents from entering the bathroom.

4. Keep the air flowing

Our top tip for keeping your bathroom fresh day-to-day is to make sure that you keep it well ventilated. 

Cracking open a window or using the exhaust fan, especially when you shower, lets air move through the space and prevents moisture, removing mould and mildew. 

5. Embrace storage solutions

Is one of your goals to embrace clutter-free living? 

Create a practical storage system that works for you by investing some time into thinking about what you use the most and where it should live. A little up-front organisation will keep your bathroom tidy for years to come, as clutter can seriously reduce the zen factor in any room of the home.

Daniela Santilli is marketing lead for Reece Bathrooms, who are committed to Bathroom Happiness, even in unusual times. Customers can book in for a virtual or in-store consultation here, or speak to a consultant about the latest products for their project.  

Categories
Expert Tips

Getting your bond back: 5 end of lease cleaning tips

By Jayde Ferguson

When you rent a new apartment or house, the landlord is likely to require a rental bond or a security deposit to ensure that any damages will be paid for by the tenant. So, how do you make sure that the cleanliness of your house lives up to your landlord’s standards when you move out?

house-cleaning
Photo credit: Cleaners West London

It starts when you move in — it is your responsibility to record the condition of the apartment before you have brought any of your belongings inside. The property condition report acts as an agreement between you and your landlord as to the condition of the property when you get there, and the more accurate your property condition report, the better off you will be when you move out. In addition to a written property report, taking photos can help. If it all sounds like too much effort you can get a third party company to inspect the property on your behalf. These types of companies know the exact traps and pitfalls to look out for.

Take care of messes as they happen

If you generally live clean, your chances of getting your rental bond back are good. Remember to get rid of old food, minimise clutter, and clean up stains as soon as you spill — before they set. If you need it, get an air filter, a humidifier, or even plants that can help filter your air.

If possible, don’t have a pet. If you have one, make sure to clean up after pets as soon as possible, from accidents in the house to shedding hair or fur.

Home improvements

Remember that if things go wrong with the house, it is the landlord’s responsibility to fix them. It is in your best interests to call your landlord when things go wrong so that you can avoid paying out of pocket, or making things worse than they were to begin with.

If you do make your own improvements to the property, take before and after photos, keep receipts and inform your landlord as soon as possible.

Follow the terms of your lease

Spring-Cleaning
Photo credit: Get Healthy With Danita

This is one simple thing that people tend to overlook in some ways. While a lease requires payment of rent regularly in exchange for the keys to the property, it also may have clauses regarding other things that can affect the quality of the property when you move out.

If your apartment does not allow smoking, choosing to do so inside can require additional cleaning and costs when you move out. Some leases don’t allow pets, and will charge extra for damages by pets from the rental bond. You may also have restrictions regarding things like painting the walls, using nails or screws in the walls, and more.

Pretend like you are moving in

One way to ensure that your apartment is in the condition it should be is to look at it as if you were a new tenant moving in. What would you write on a new property condition report? Does it require additional cleaning? How does it compare to the property condition report you filled out when you moved in? If you have photos from your move in date, compare the move out condition to the move in condition.

You may even request that your landlord walks through the house with you to go over its condition.

Hire professional cleaners

cleaning
Photo credit: She Knows

If you are worried that your landlord could overcharge you, or if your house really does need a good, thorough cleaning, consider hiring professional cleaners (realestate.com.au have outlined the pros of having it done professionally here). Finding a cleaner on your own could save you in the long run, especially because you might take the time to look for a good deal while your landlord just wants to get the rental cleaned, and send the bill to you.

Sometimes cleaning companies offer deals for end of lease cleaning, and they will provide a guarantee that if you do not get your rental bond back, they will not charge you. Make sure that you hold on to all of your receipts so you have proof that you cleaned the apartment.

— Jayde Ferguson writes for Asset Focus who provide independent property inspection reports in Perth.