
“I would certainly prefer a ledge to a niche – I find niches a bit dated and they’re often not wide or deep enough to fit the required number of products, so they become impractical too,” says interior designer Sarah Yarrow when explaining the rationale behind one aspect of this fabulous bathroom overhaul.
Part of a wider renovation, the relatively petite space was opened up using a variety of clever techniques including recessing the vanity, eschewing a shower door for a piece of glass and designing the aforementioned ledge to run the entire length of one wall, giving an illusion of greater overall depth.


“I think that ledges work aesthetically best when they run wall to wall, rather than just being inside the confines of the shower, and preferably on the longest wall. They also give an opportunity to do, as we have, and allow for a natural change of materiality,” says Sarah referencing the tile choices in the space. A warm natural toned palette was chosen (as opposed to stark greys and whites) – a large format grey tile lines the floor and walls while a feature tile sits above the ledge.
“We used a very limited material palette by design because it was a small space. For example, using the same tile on the floor and walls meant it wasn’t visually overwhelming or confronting compared to if there were multiple tile colours, sizes and layouts. Then we used the ledge as a visual ‘break’ to lay a very textured feature tile above,” says Sarah. The feature tile displays a cracked, textured finish that was further enhanced by terracotta grout.

If you’re keen to explore the ledge option in your own bathroom, Sarah has some useful, practical advice. “You need to ensure that the tile on the top face can be cut lengthways easily enough so you don’t end up with a whole line of tiny cut tiles – that would be a huge wastage of product and your tiler would kill you!” says Sarah.
Overall, Sarah worked hard to expand what is a pretty small space. So much so that she ended up ‘stealing’ a bit of room from the wardrobe in the adjoining bedroom which allowed for a recessed vanity, freed up the floor space and meant that the shower could be widened too. “We also chose to use only a single pane of glass, which was recessed into a channel in the wall rather than using unsightly brackets, giving a more streamlined look and negating the need for a space-encroaching door.”

The green basin was chosen very deliberately as a feature. “We just wanted a fun little ’something’ in the space and as the design evolved, I realised the sink was the perfect item. The green came about as a reference to the colour palette we’d used in the kitchen cabinetry, a space which adjoins this bathroom, so it felt a cohesive way to connect the two.”
Much as she loves a coloured concrete sink though, Sarah is mindful of the context in which she specifies them. “This bathroom is a guest ensuite so with selective use I think the coloured concrete is great but I would think twice if it was going to be in a main bathroom living up to the day to day demands of a young family.”
For more on Sarah Yarrow Interiors

Bathroom trends 2022: experts share what’s in and out


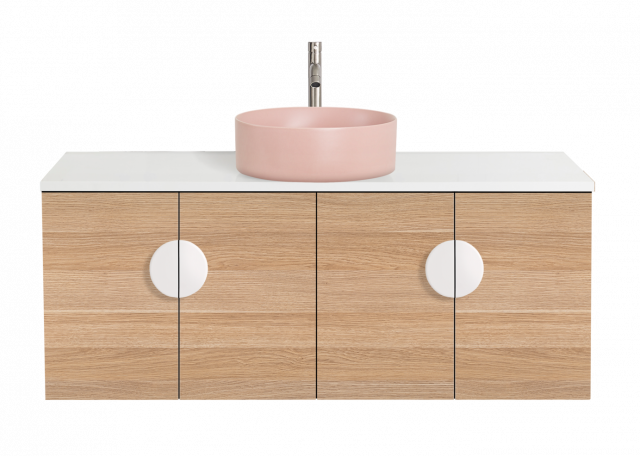


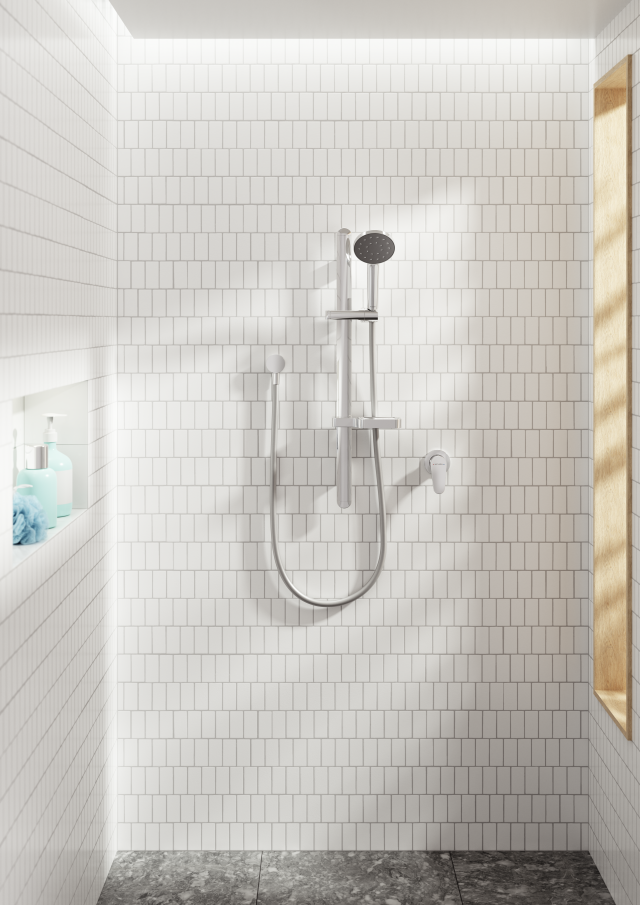


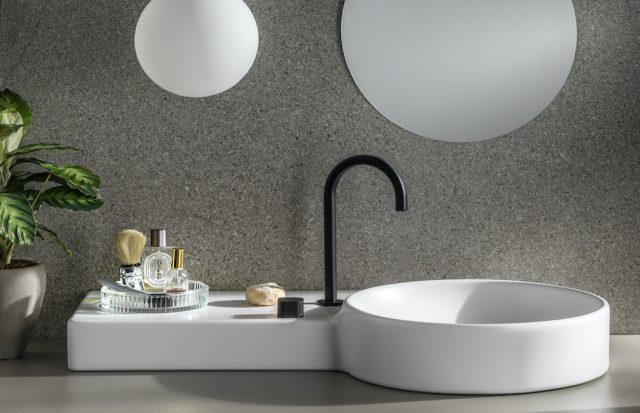


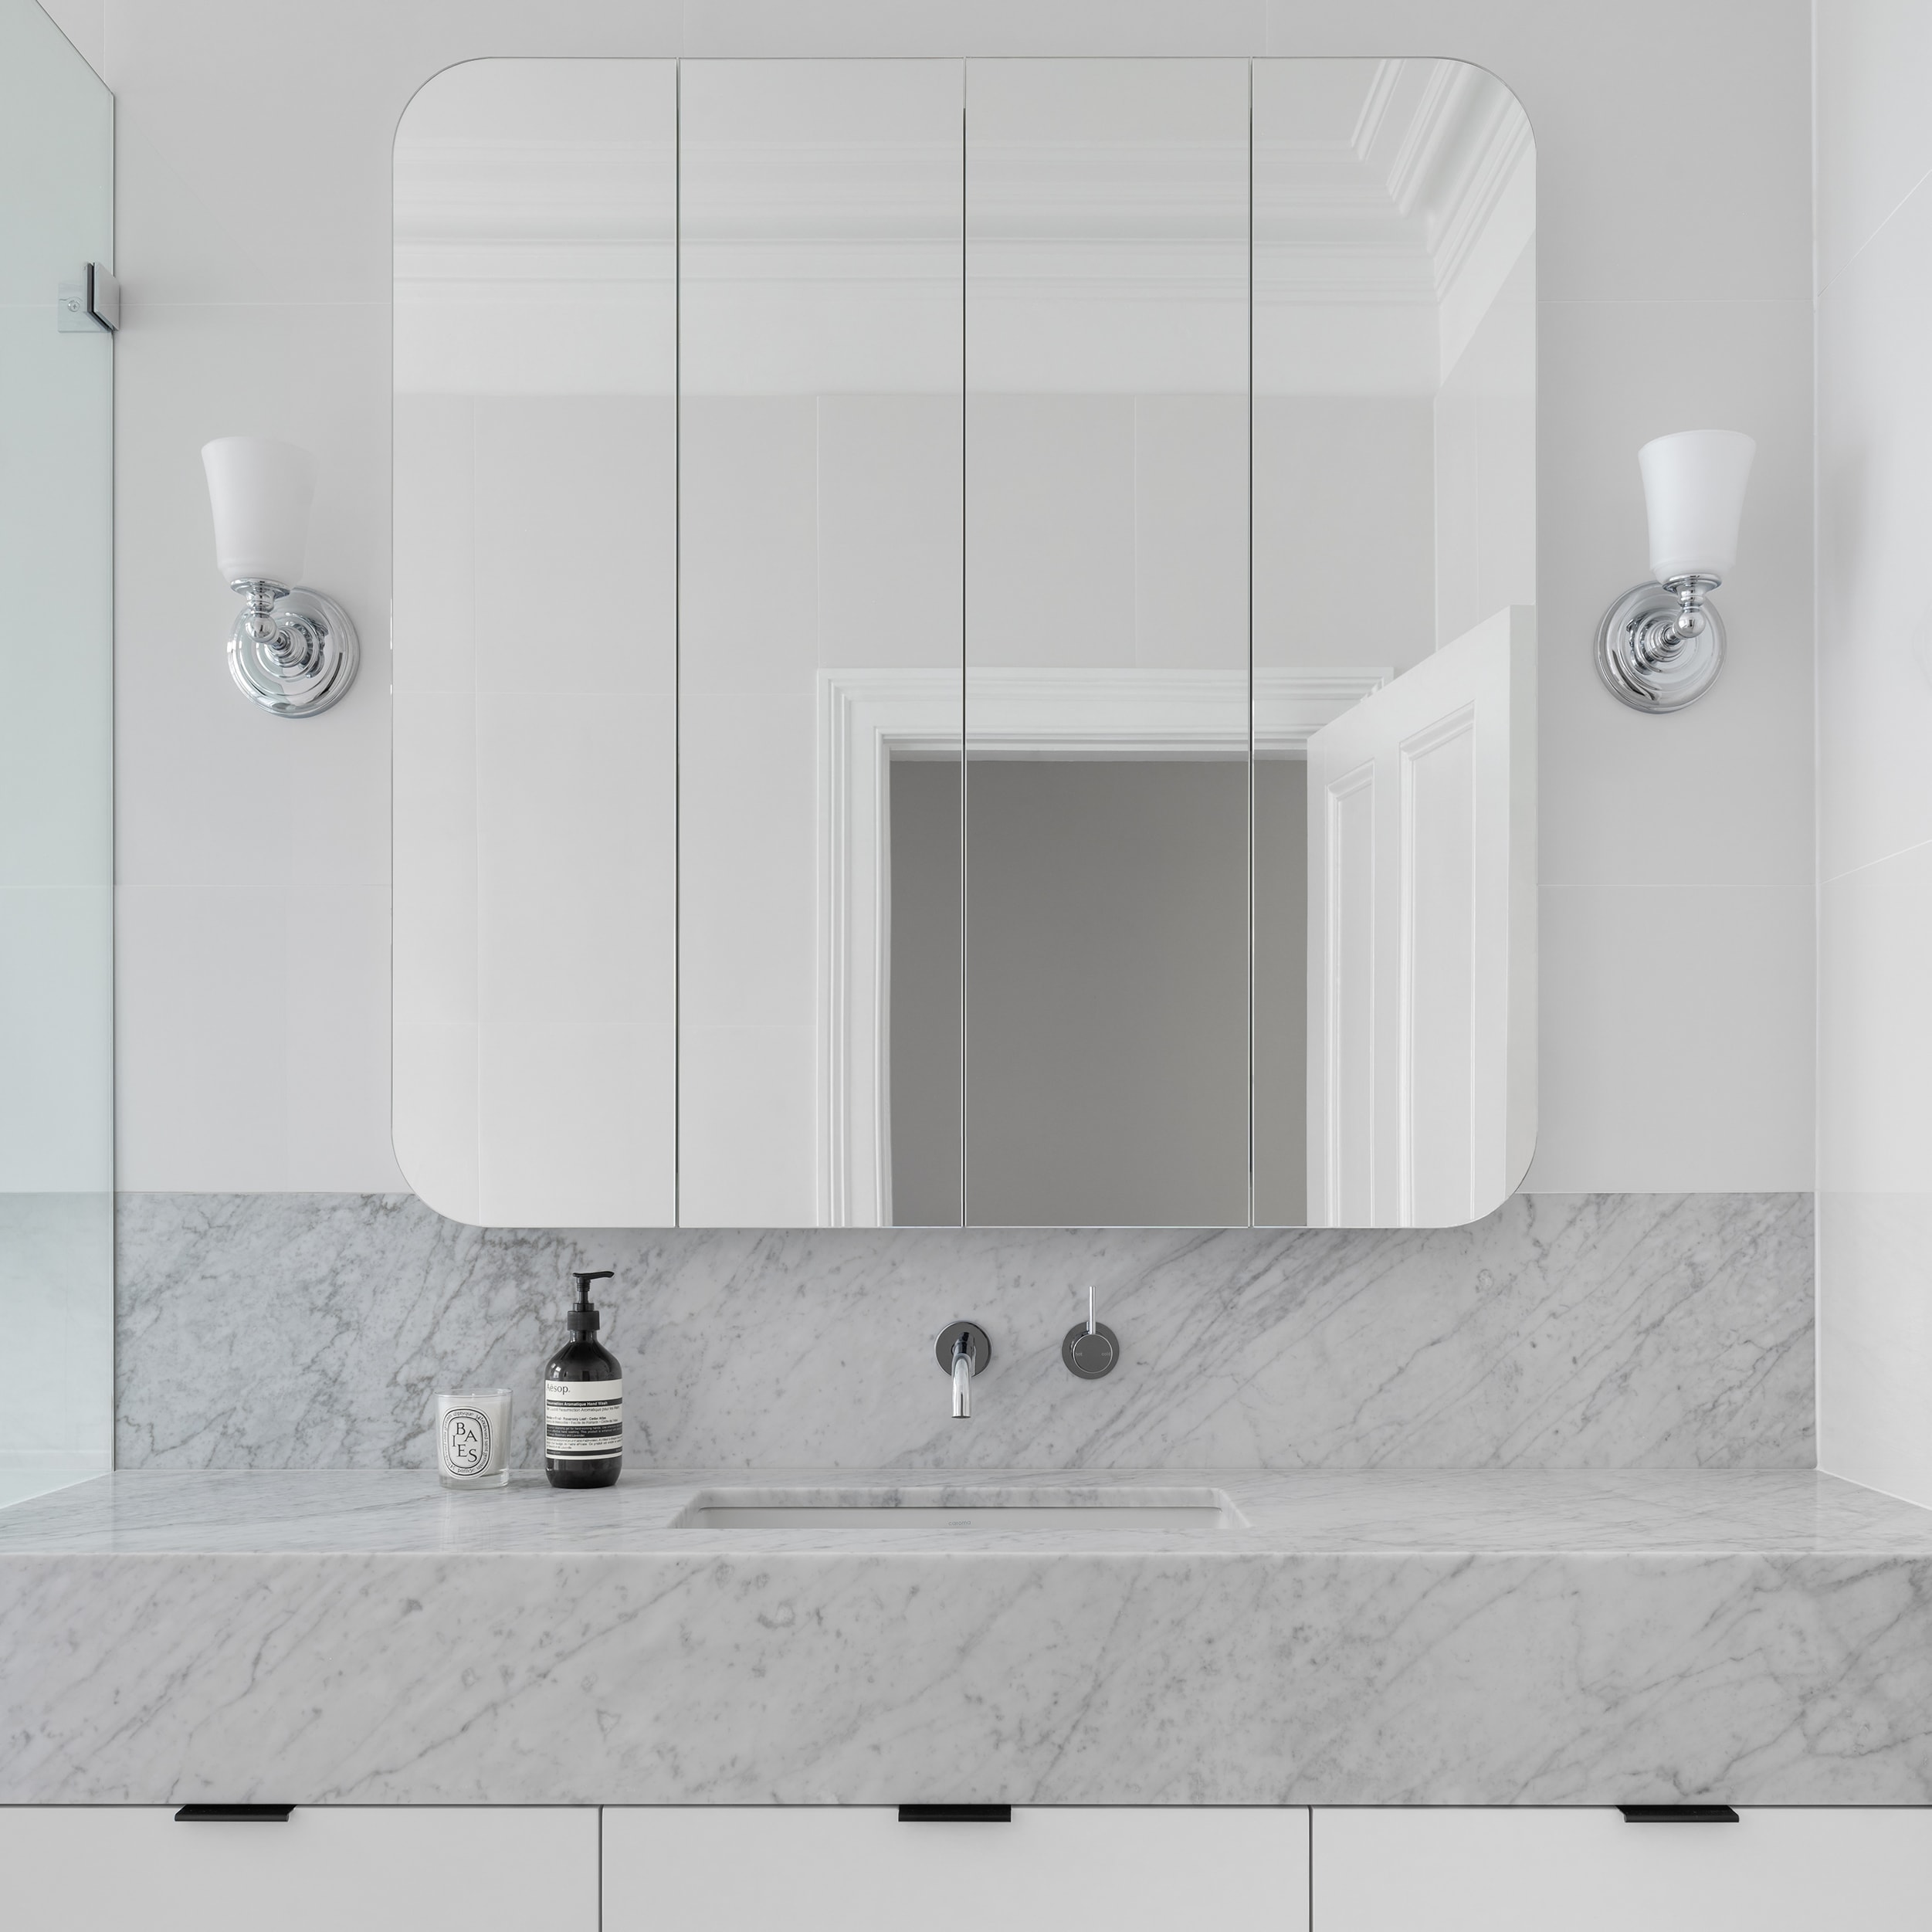
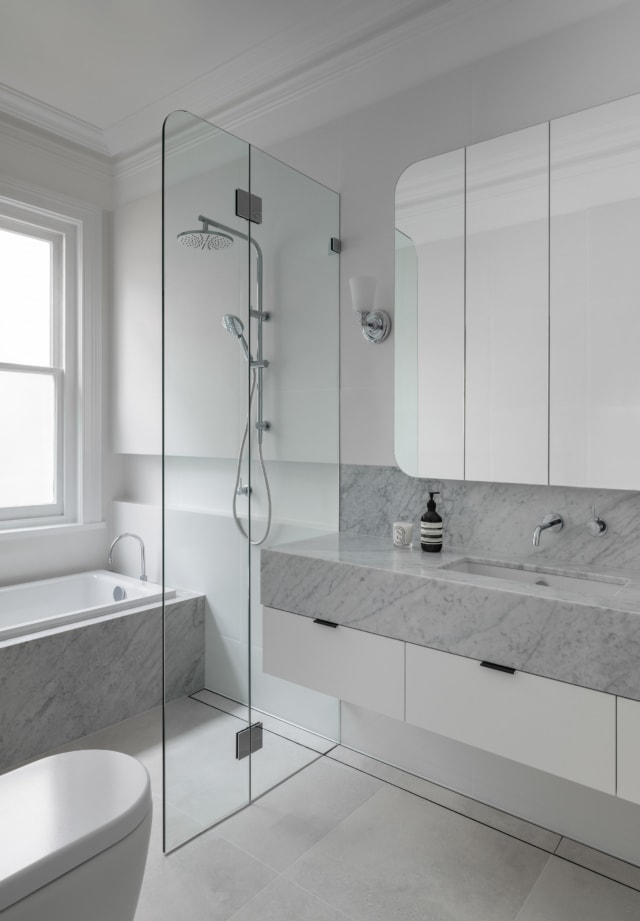
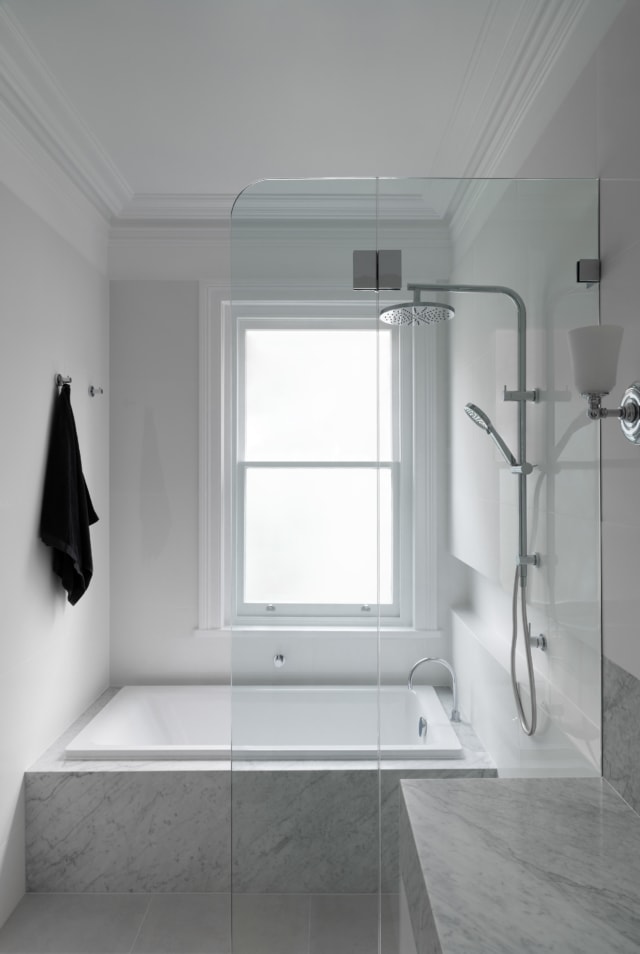
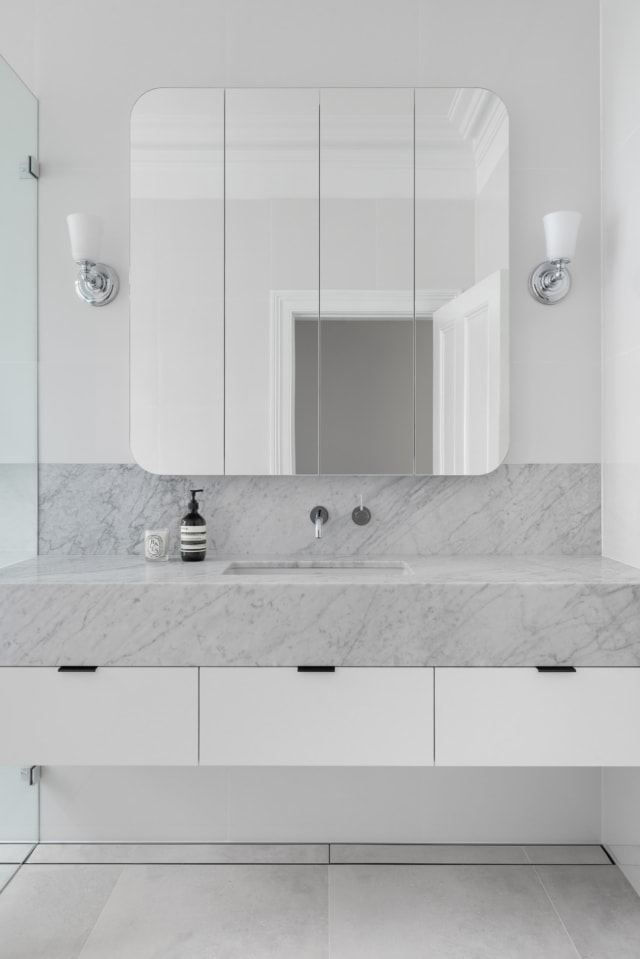


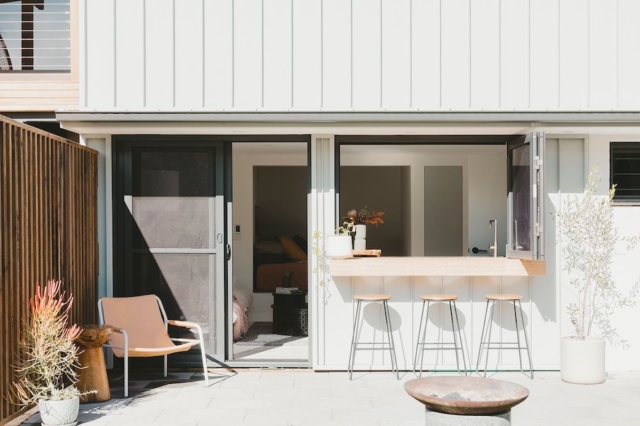

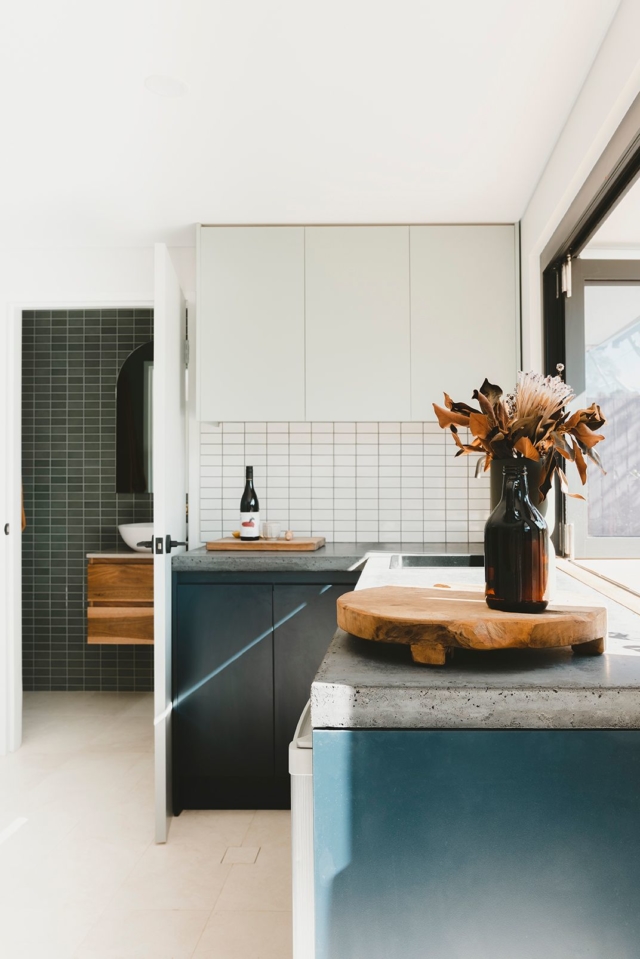
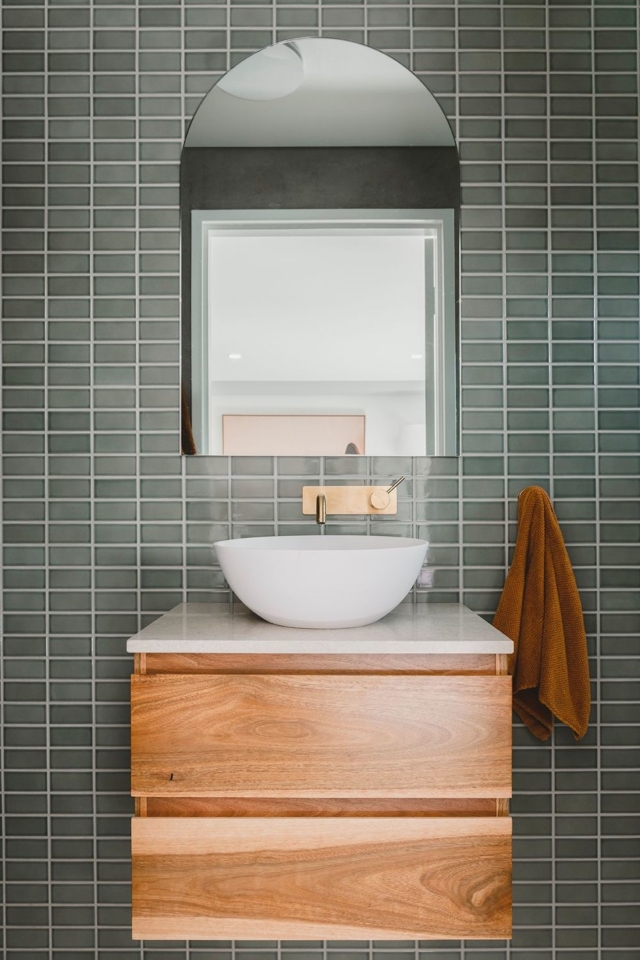
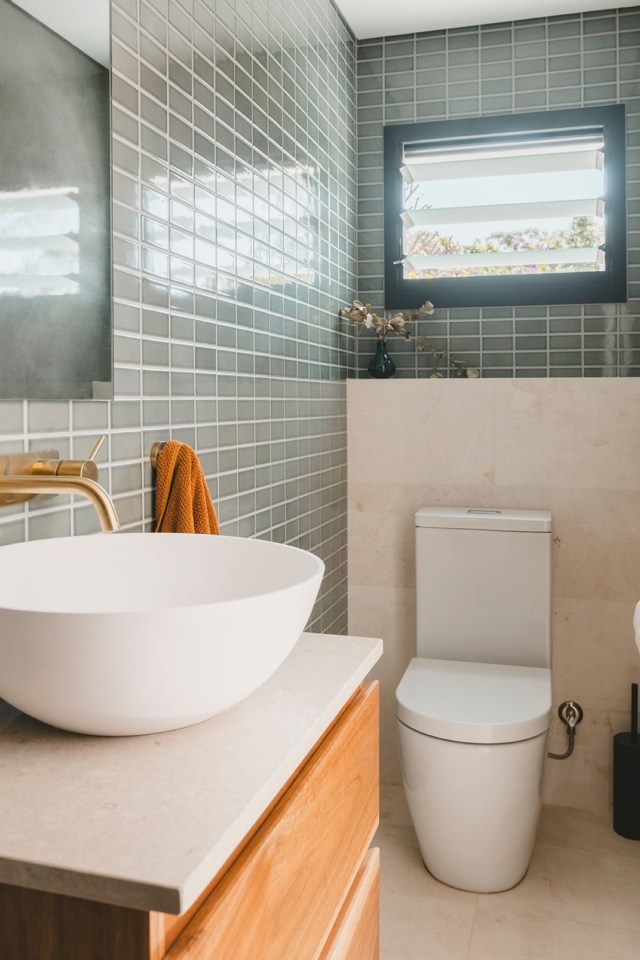
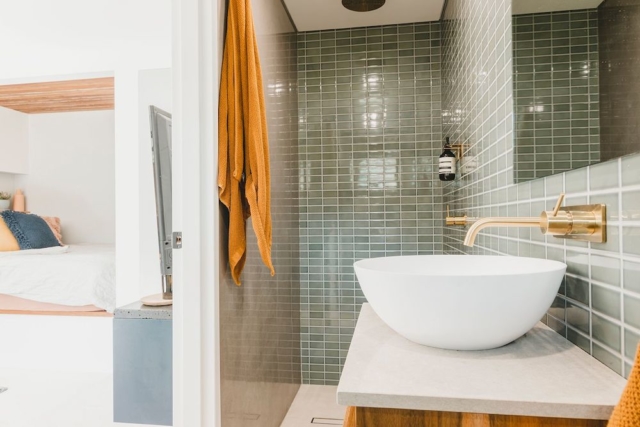


 Image source:


 Bathroom 1 before
 Bathroom 2 before
 After – Bathroom 2
 After – Bathroom 2
 After – Bathroom 2
 After – Bathroom 1